
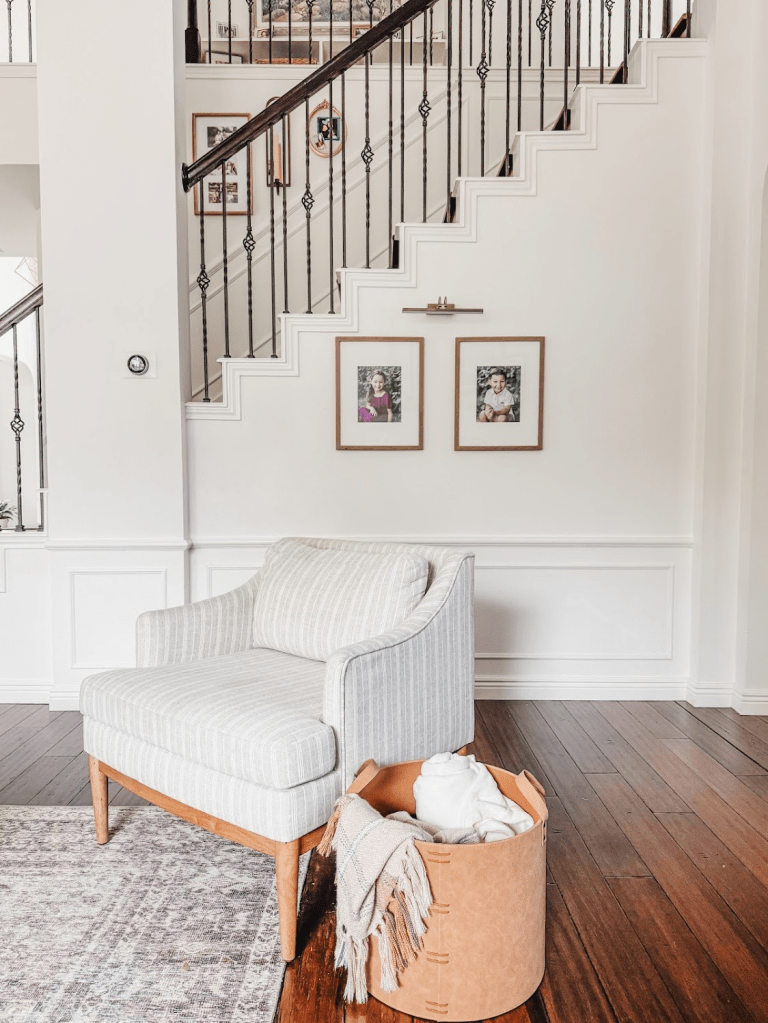
300+ cuts and 5 weeks later, the foyer upgrade is complete!
The initial intent of this project was to carry the wainscoting design seen in the living room to the inside wall of the stairs. This would provide a consistent design when looking at the stair wall from the living room and break up a very tall blank white wall. This was also part of an ongoing goal to add custom elements throughout my home while keeping with an overall modern traditional interior design.
Although the design was simple–a chair rail on top and picture moulding on the bottom–this project was more involved than I could have imagined.
- I was using a mitre box kit so cutting by hand. I share a breakdown of tools needed in an earlier post on installing trim here.
- There were many odd angles to cut that took some trial and error.
- The interior of the staircase wraps around an obtuse angled wall. There was a lot of watching YouTube videos involved but I finally got the hang of it.

Because of the open floor plan at the front of the house, the stair wall blends into the foyer. One project leads to another and I decided to carry the design into the entirety of the foyer. In that space, I was at least dealing with right angles so the math was easier. I also finally invested in a brad nailer so that part of the process was exponentially easier than using a hammer and nails.

The only challenge from here was that there are many openings in the foyer into the office, laundry area, dining room and kitchen, which meant I had to tackle many more cuts so that the chair rail had finished ends.

From there, the wood filling, sanding, caulking and painting happened more quickly. Because of the open floor plan, I chose to paint the trim the same color as the wall–Benjamin Moore Simply White.
The wainscoting adds dimension and texture to the wall, breaks what was a tall flat surface and makes the home feel more custom. Still, there was one step left–decor.
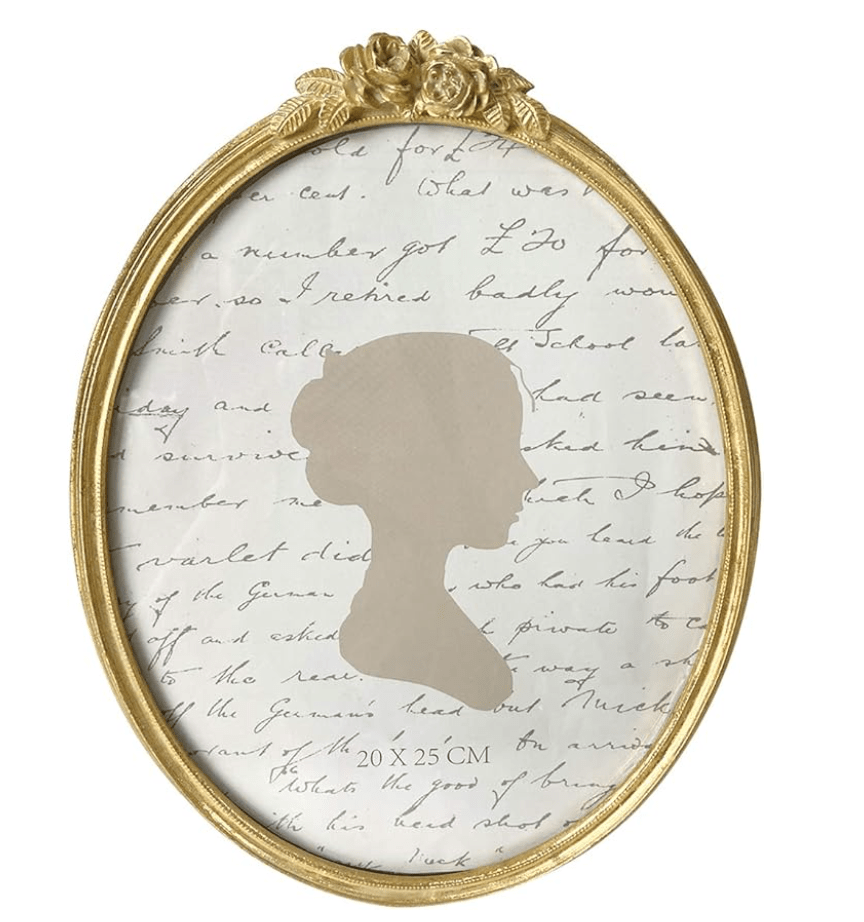
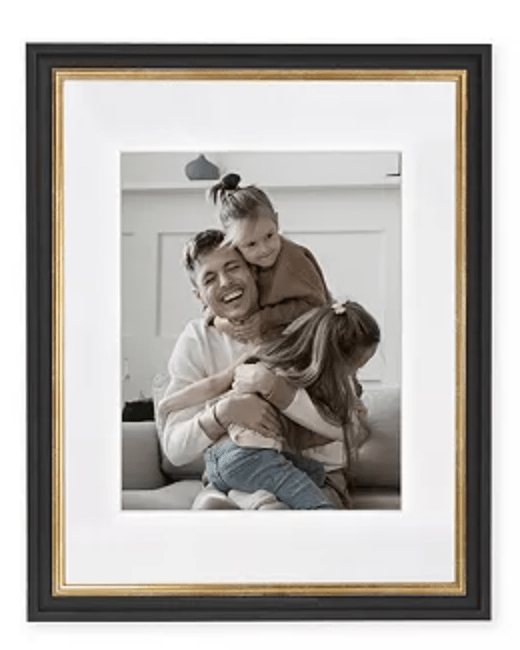
I selected a mix of frames, both in terms of sizes and colors in black and gold tones, and a mirrored candle sconce. To add some character, I removed the glass from a gold oval frame, added pegboard to the cardboard backing and wrapped it in cloth from the craft store to create a pin board. My goal is to swap out the pictures or add special mementos each season.


I’ve shared similar decor below. Note each image is clickable and I’ve shared the links below as well.


- Candle sconce–exact one I purchased.
- 3 picture collage frame to fit 5×7 photos
- Oval frame (to make pin board)
- Black and gold 11×14 inch frame to fit 8×10 photo (3 pack)
- Ornate 11×14 inch gold frame to fit 8×10 photo
How do you think it turned out? my biceps are stronger for it, but this project pushed my limits with a handsaw. This timeline is also the reality of tackling DIY in spare moments between work and family life. Otherwise I think I could have knocked this out in a week if working on it without distractions..and days if using a mitre saw. Any guesses what my next purchase will be?!?!?
