
For those that are just here for the reveal and decor, scroll to the bottom. 🙂
After 3 years of planning, phase 1 of the backyard transformation is complete. As I outlined in my earlier post, I envisioned 3 phases of this project due to budget and time involved.
Phase 1 was to replace the broken brick pavers with limestone and add a retaining wall. Phase 2 is to add a covered pergola and Phase 3, which may still be in the daydreaming category, will be to create an outdoor kitchen.
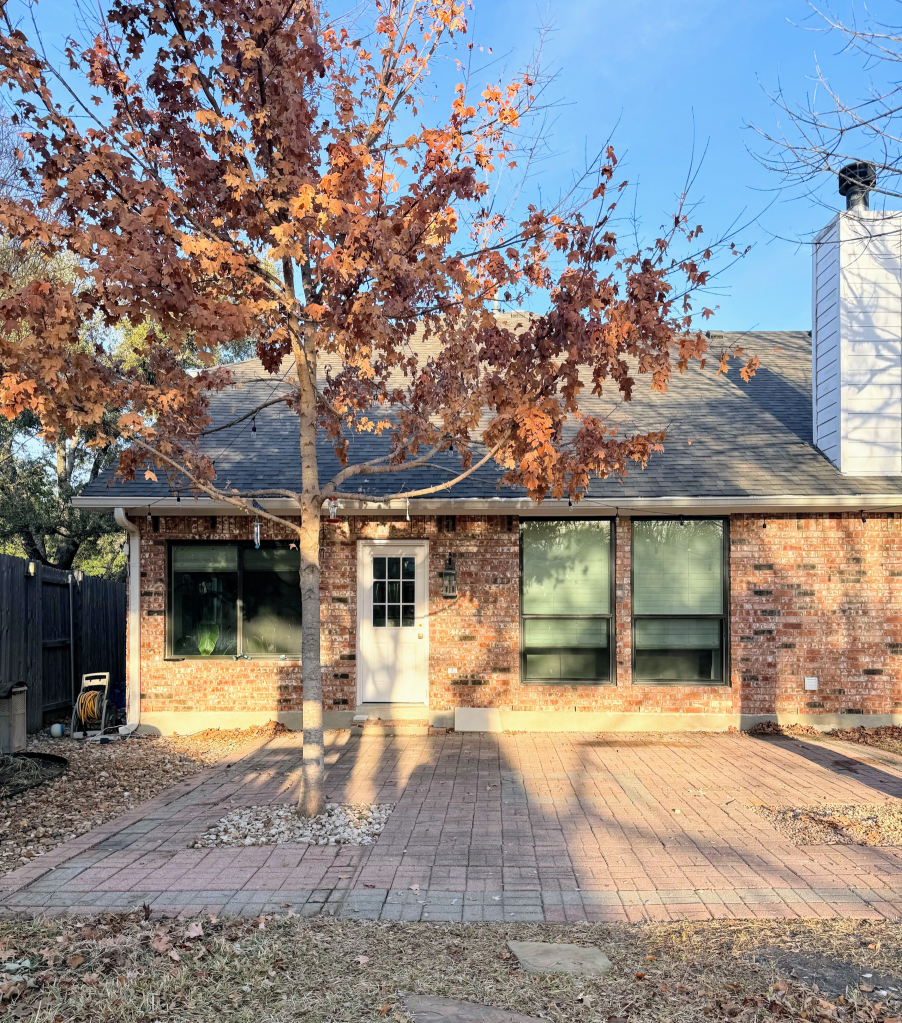
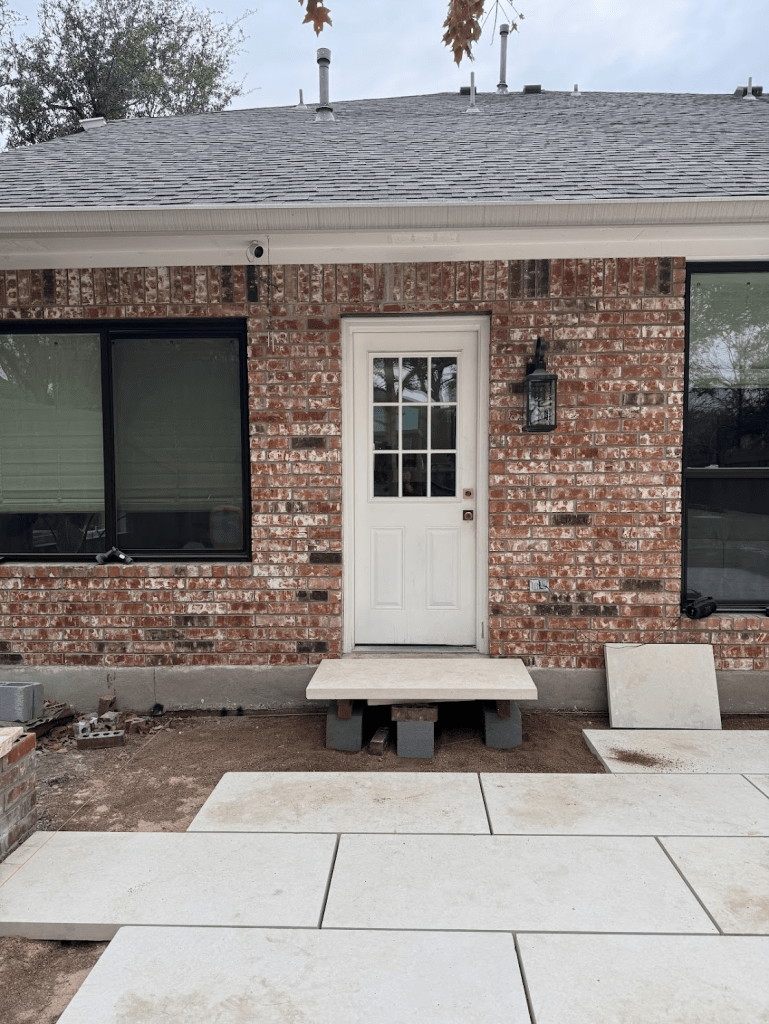
Here is a reminder of where we started. Some bricks were broken, others upheaved due to the roots of a tree out of picture and frankly, I just didn’t like the faded red and grey bricks. It wasn’t doing anything for the house.
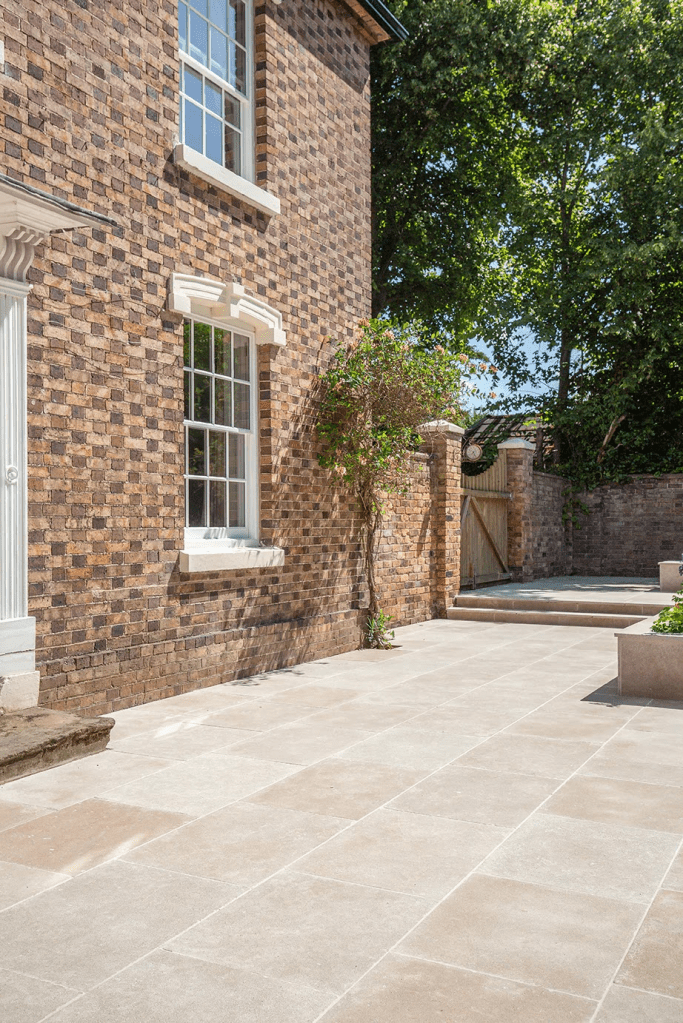
My gut told me I wanted large limestone pavers to create a Mediterranean feel backyard environment and my online searches helped validate that. Look at this beautiful inspo pic by Quron Stone. The limestone would offer a nice contrast to our red-orange brick yet still match the cream hones throughout it.
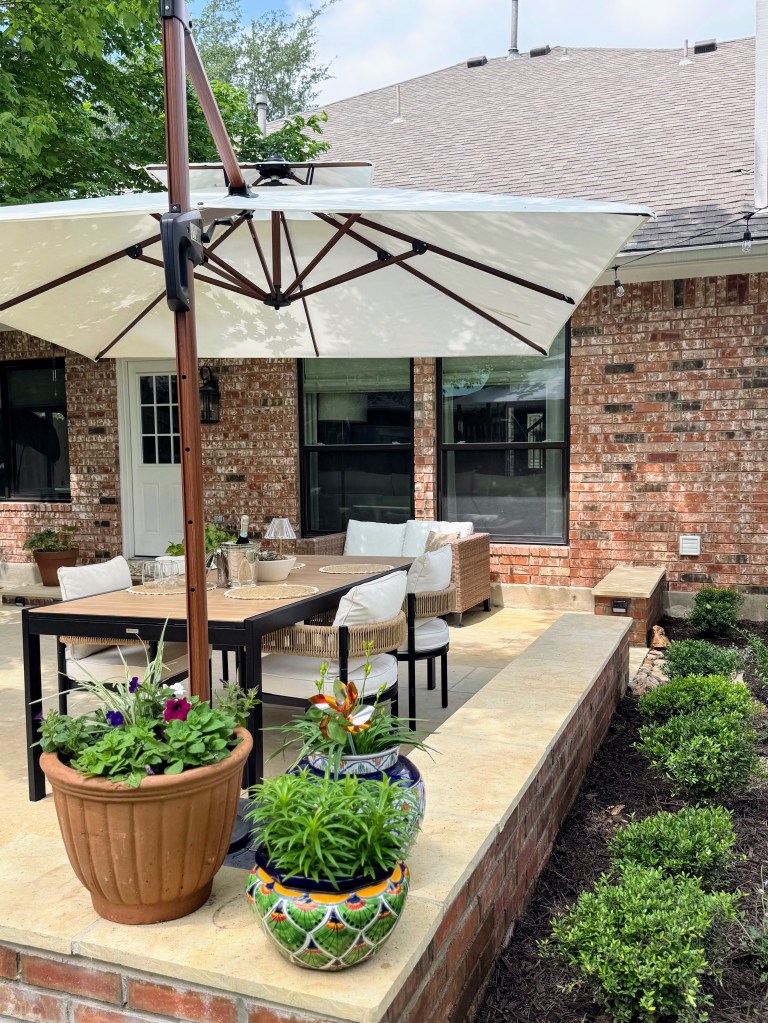
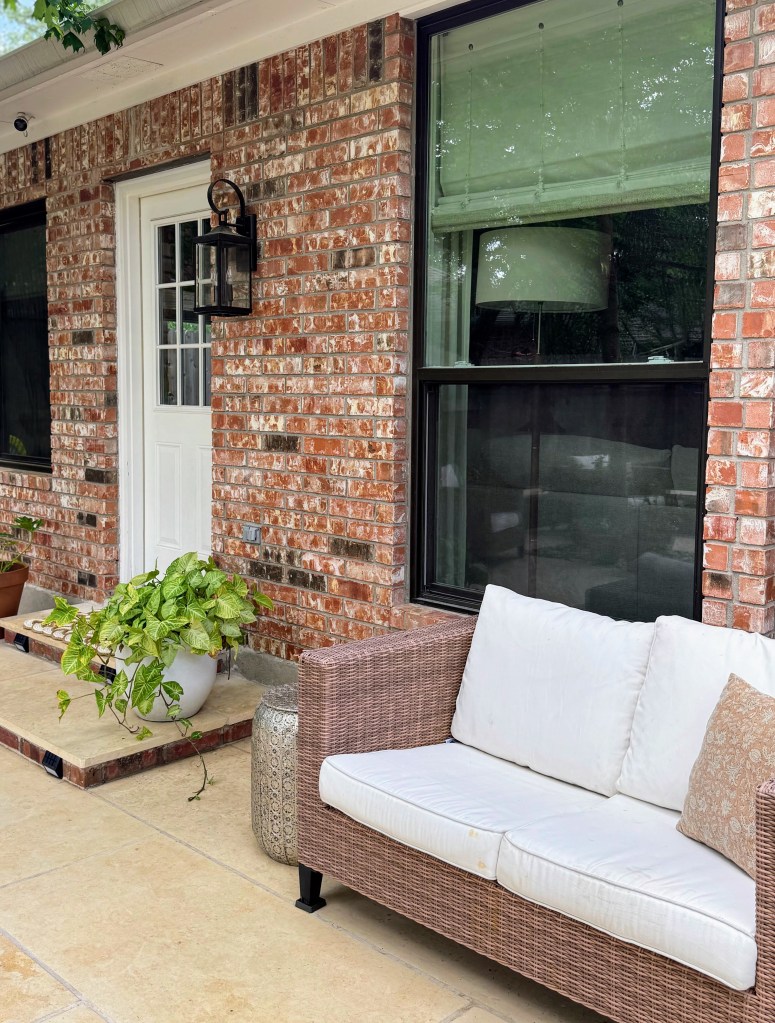
I then thought about how to make the patio space feel like an extension to our home. Beyond a surface area, I wanted to make the patio feel like a defined and intention space so I decided to add a retaining wall. This helps make the patio feel like an outdoor room but has the added benefit of giving more seating space when we host parties and someone wants a place to sit for a moment while other seating may be full. While I was originally going to create the retaining wall in limestone, I had some sleeps on it and decided to match the brick of the home so that the space felt like it was built with the home vs an add on.
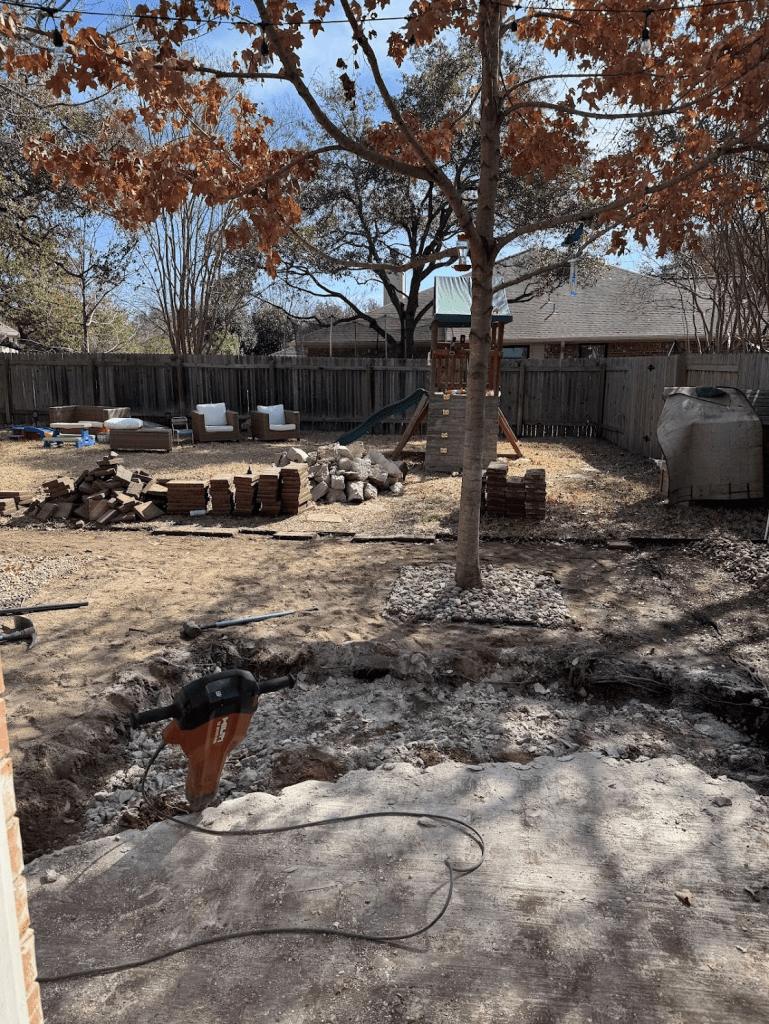
We worked with a local landscaping company for this project. While I’ve laid pavers in our prior home, those were both small pavers in size and a smaller patio extension surface that I could manage with multiple trips to the hardware store. This project involved no less than 2 weeks of full time labor, hauling off the existing brick, jackhammering up the original 10×10 concrete patio that was under the brick, mass loads of materials and skill sets I’ve yet to tackle so it was a no brainer to get help.
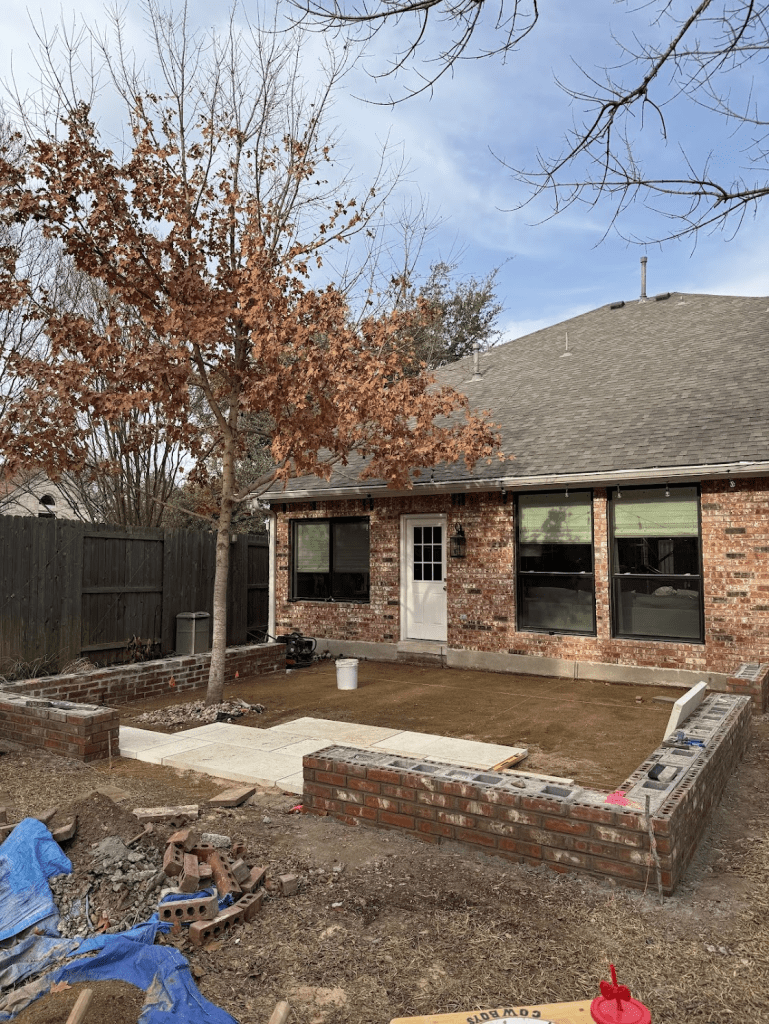
After demoing the existing patio, the team started with the retaining walls, filling cinder blocks with concrete and then applying the brick and mortar. Given that our home was built in 1995, the exact brick color variation was not available in our area and the retaining wall was appearing more red vs the orange hues of the house. I was assured that 1) the brick would fade with the sun and 2) the color differences would not be as noticeable once the limestone was laid. The latter has at least proven to be true now that we are able to see the space and full and time will tell with the sun.
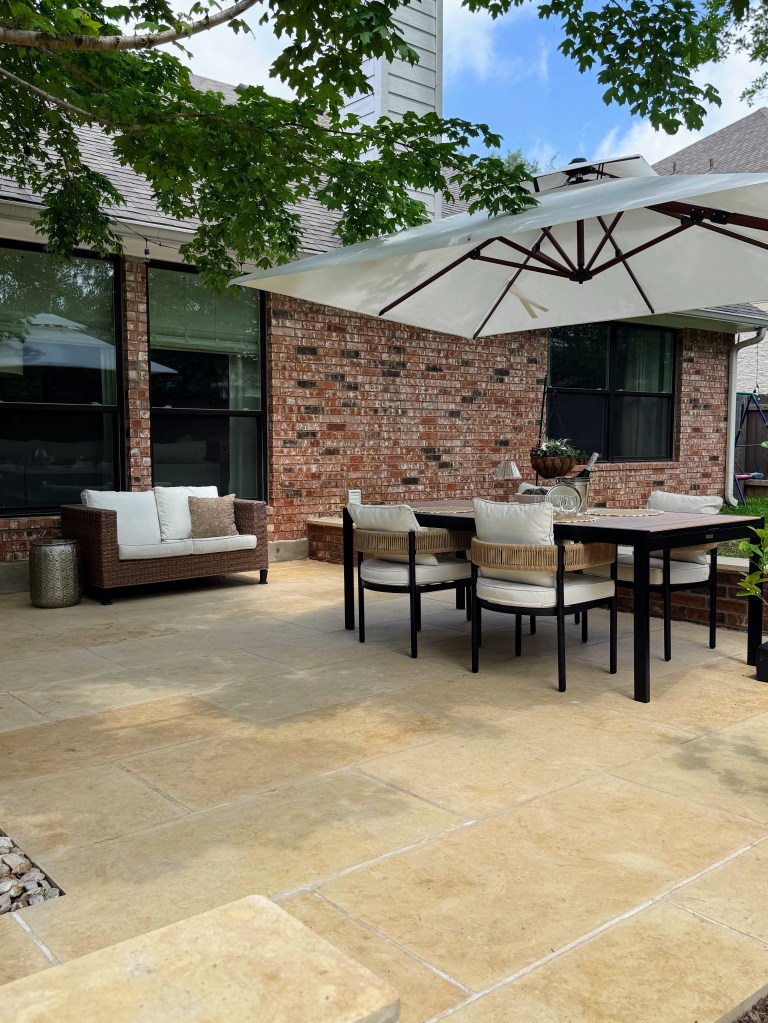
The ground was then cleared, paver sand was added and then tamped to prep for the honed limestone pavers. The pavers were incredibly heavy 2 x 4 foot and at least 2 inches thick. The pavers were cut and mortar added in between the joints as I wanted the space to feel built in and permanent. I did not want pea gravel in between because my OCD would kick if gravel moved around and I’ve seen stories of the rocks sticking to shoes and then scratching floors as people walk inside.
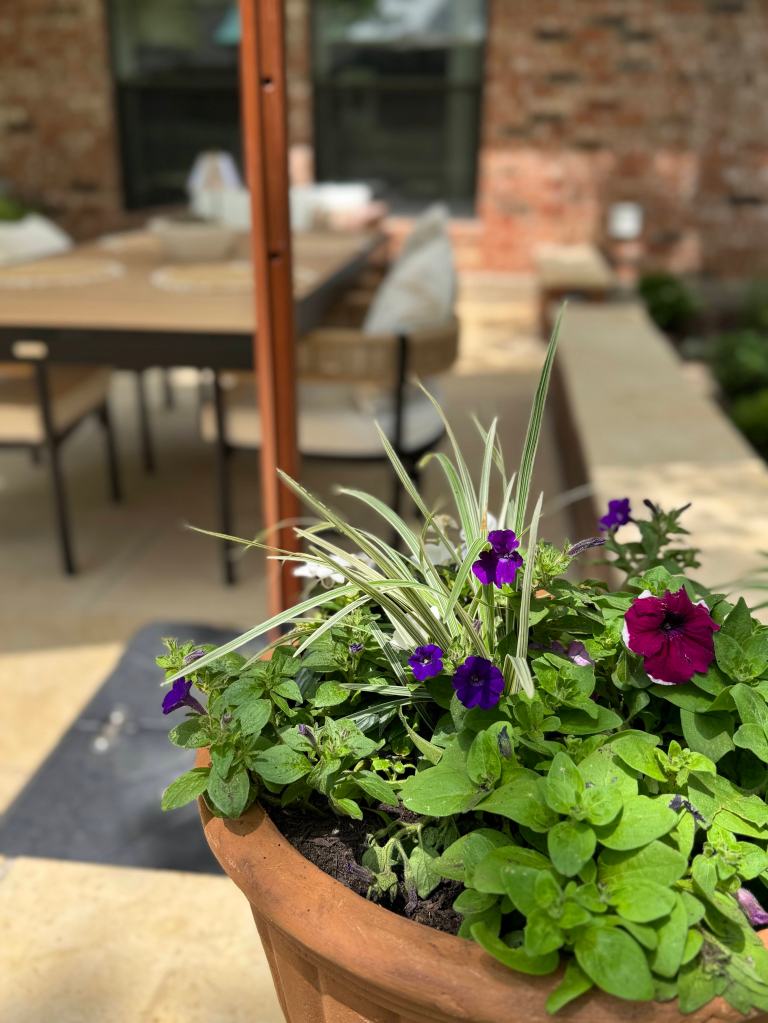
Then came the stairs. I was originally thinking about one extra wide step but we needed to adjust to give walking space to the side of the patio from the retaining wall and the step down was going to be a big one. With the help of some AI renderings, I decided on two steps with progressive widths of 4 and 7ft x 18 inches. My only requirement here was to have enough width to add planters on the side.
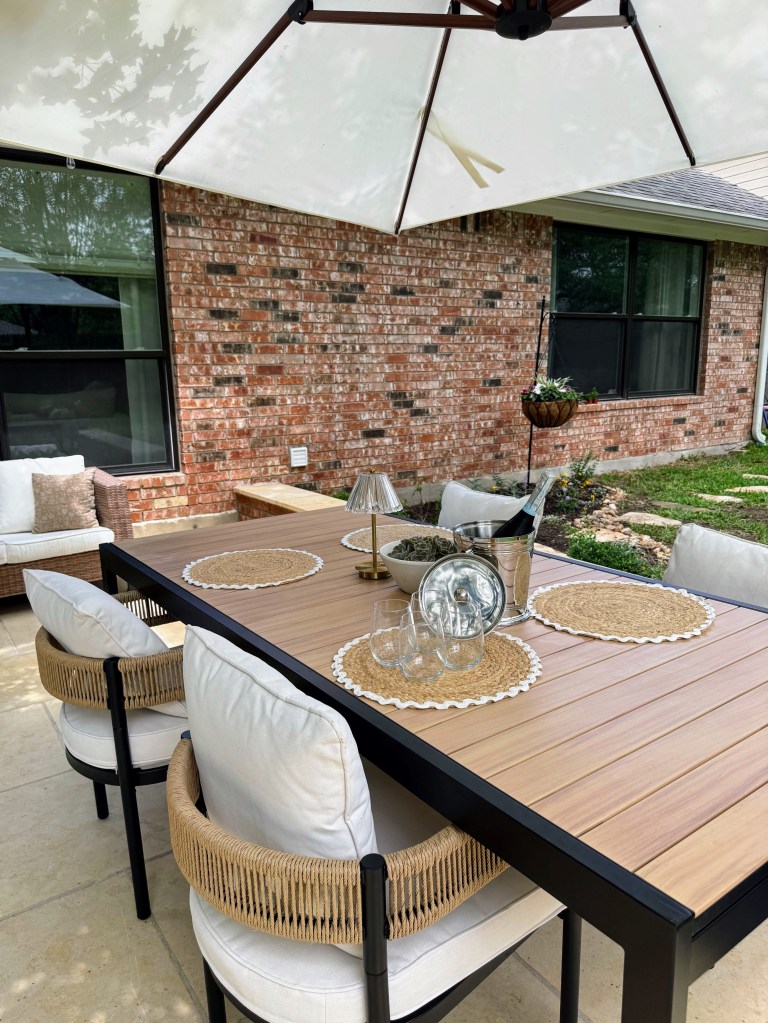
While the patio has been done for about 2 months, I was on the hunt for a table and chairs that would be elegant and feel like you are in a European garden while still being weatherproof. No matching set met my expectations or what did was way over my budget. I then started to search for separate table and chairs that I could match together myself. I finally found the perfect weatherproof faux wood top table and coated metal chairs with white cushions, both from the Wayfair brands family. The furniture looks amazing, was easy to assemble (I think….I made my husband do it as a birthday gift to me) and the upside is is fits 8 if hosting and that’s not even including when it is extended ,…,…,so could fit another 6.
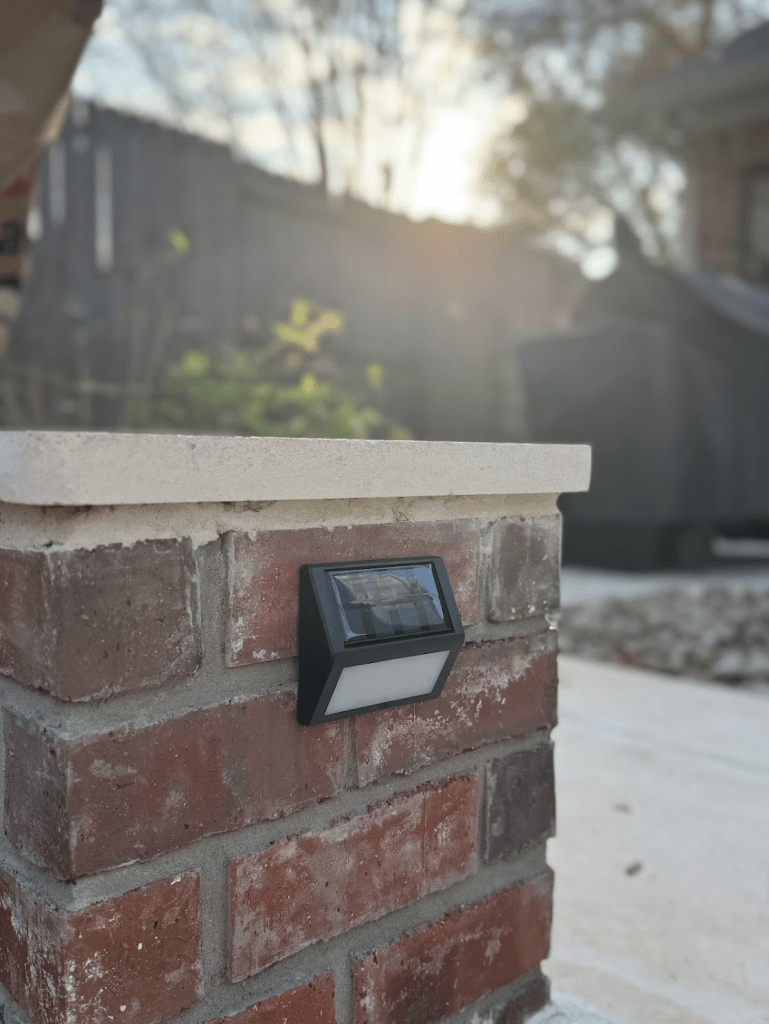
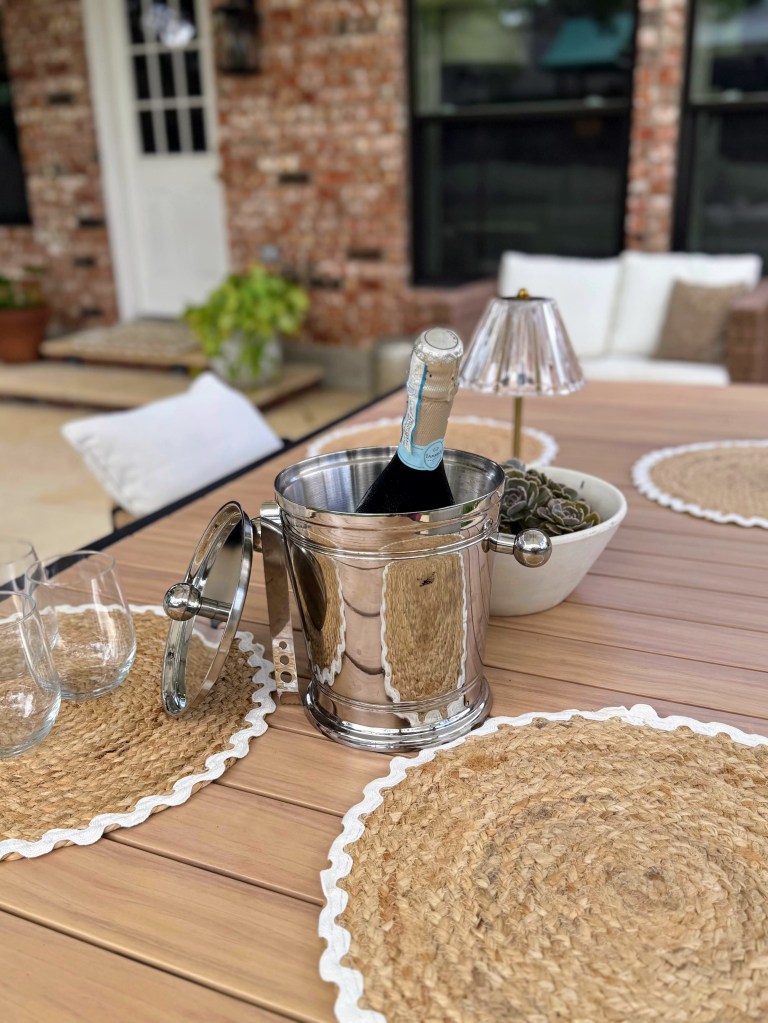
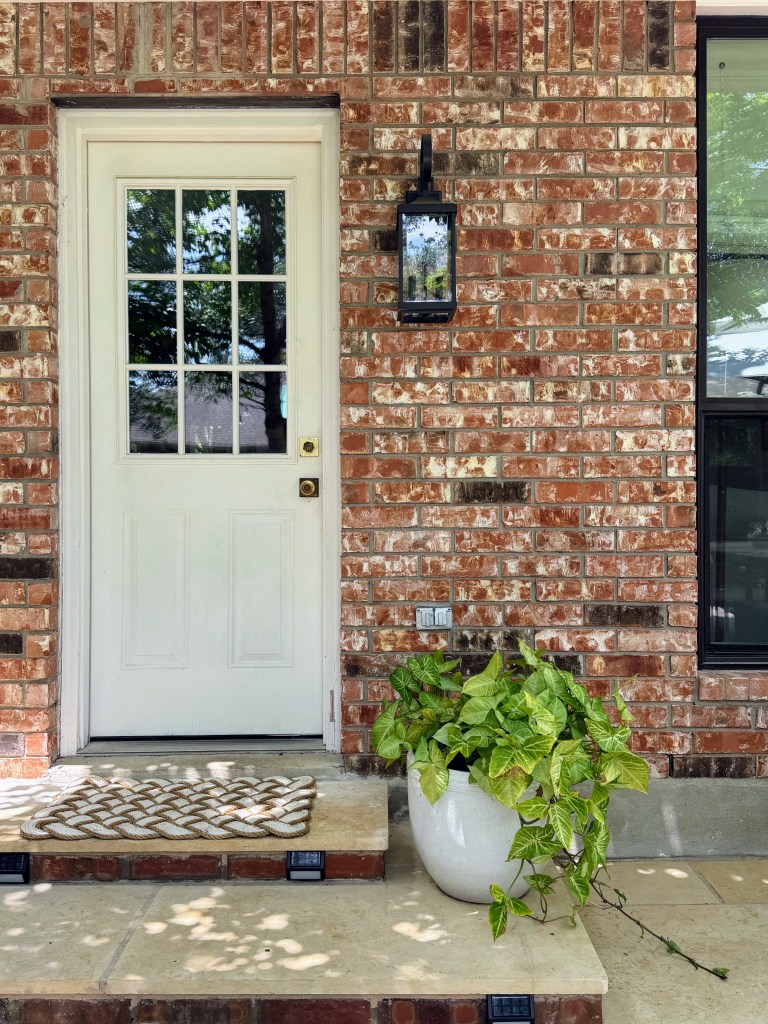
I’ve then been adding in other elements of lighting and decor. While in hindsight I wished I thought to hardwire lighting within the retaining wall, I installed Hampton Bay solar lights using extra strength 3M double sided adhesive tape. They stay on until 11pm on average each night, which works since we’re never usually out there that late…or honestly, long enough that I don’t mind since they were under $20 for a pack of four.
The cutest lovers knot nonslip synthetic door mat and hanging woven LED lights (tall and medium size) add some warmth.
Slowly and steadily the space has transformed into a broken, boring patio surface to a defined, inviting room that offers a hangout space outdoors. Until phase 2, we are benefiting from our fully leafed maple tree that offers shade, as well as from the cream Purple Leaf umbrella with a faux wood aluminum pole and base.
VIEW THE SLIDESHOW OF THE REVEAL
SHOPPING LINKS HERE.
Now if this couple of weeks of rain would clear so we could get to some margaritas on the patio!! Stay tuned for future phases, including landscaping on the outside of the retaining walls.
